
Six steps, pipe to pressure.
An irrigation project goes from a free site visit to a final walkthrough in six steps. Here is exactly what happens, in order, and what you need to do before and after.
Follow the water.
Step 1 of 6
- 01
Site visit and tests
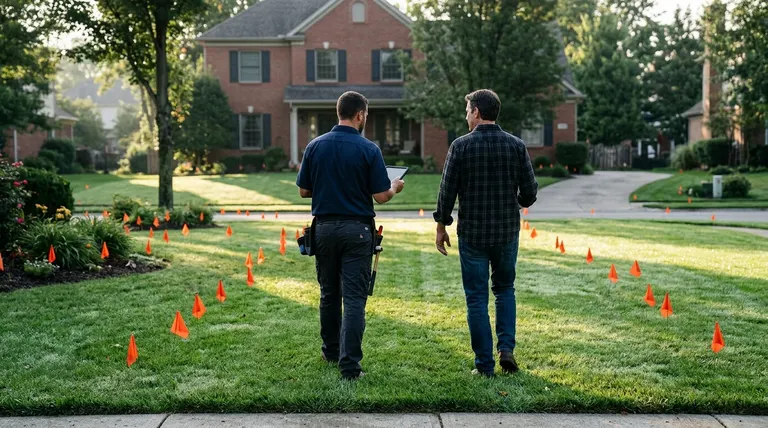
We walk the property, listen to what you want, measure the yard and test your water pressure and flow with a bucket and a gauge.
Numbers first - 02
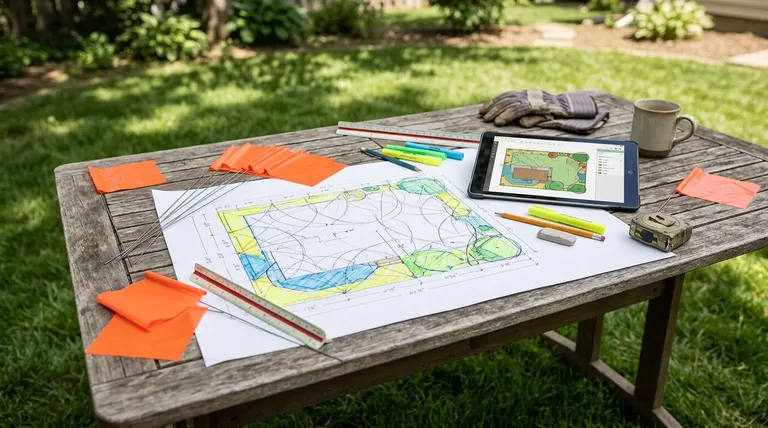
Design and zone map
Zones grouped by sun, soil and plant type, heads placed head-to-head, and a written proposal. Flags go on the lawn so you can see it before we dig.
Drawn before it is dug - 03
Trench and lay pipe
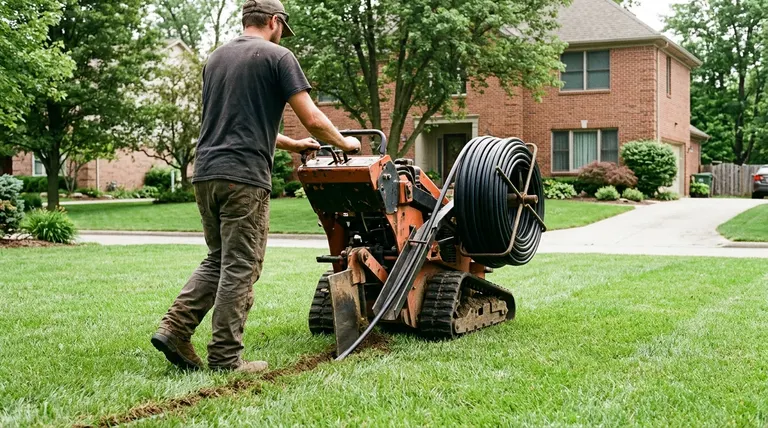
Pipe goes in with a pipe puller or a trencher, with utilities located first and the turf kept neat for restoration.
Low-impact pipe - 04
Valves and wiring
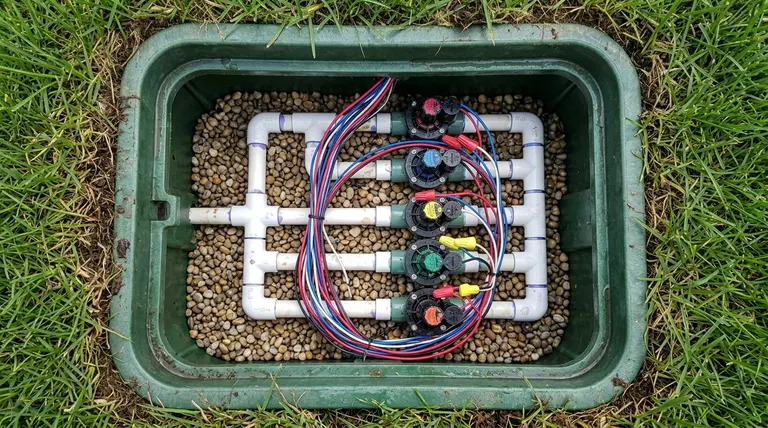
A tidy manifold of valves in a labeled box, waterproof wire connections and backflow protection that meets code.
Clean and labeled - 05
Heads and drip
Heads set flush to grade and nozzles matched per zone. Beds, trees and gardens go on filtered, regulated drip.
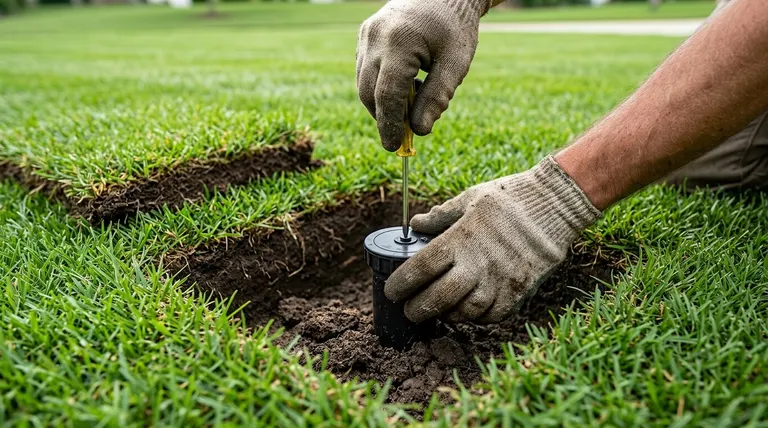
Set flush, tuned - 06
Test, tune and teach
Every zone is run and adjusted. The smart controller is programmed, the app is on your phone and you get a zone map for your records.
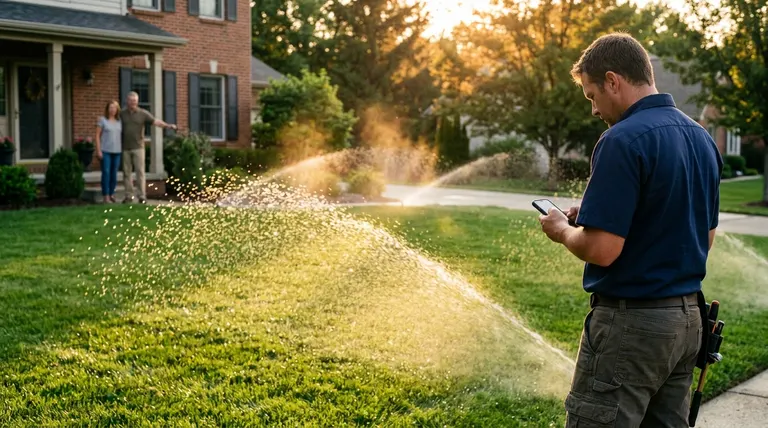
Handed over working
Your project checklist.
- Tell us what you want from the yard: a thick lawn, drip for beds, a garden
- Locate your water meter and any existing controller
- Share your HOA rules and any plat or survey you have
- Mark invisible dog fences, buried lights and anything we should avoid
- Know that utility locates, permits and weather can shift the schedule
Six promises we keep.
Designed from real numbers
Pressure and flow measured first, so every zone is sized to what you actually have.
Matched, even coverage
Head-to-head layouts and matched nozzles so there are no dry stripes.
A zone map you keep
Every zone, valve and head labeled and handed to you in writing.
Backflow and code, handled
The right device, permits where required and testing on schedule.
Neat trenches, tidy turf
Pipe-pulling where possible and restoration that disappears quickly.
Plain-English reports
What we found, what we did and what to watch next.
Process questions
How long does installation take?
Most homes take one to three working days once work starts. We schedule around utility locates and the weather, and we run and adjust every zone before we leave.
How many zones will my yard need?
Zones are limited by how much water your supply can deliver at once, so we measure flow and pressure first. A typical family lot ends up with four to eight zones, with lawn, beds and trees on separate zones because they need different amounts of water.
Do I need a permit or HOA approval?
Backflow devices and some supply changes can require permits, and HOAs commonly review new installations. We read your rules, prepare a zone map and help you submit before we schedule work.
How do I get started?
Fill in the form on any page or call or text 615-431-3789. We schedule a free visit, measure the yard, test your pressure and flow and send a written proposal.
Start with the easy part.
Book a free site visit. We measure, test your water and talk through your goals.